This article was written by Jeremiah A. – Guest Contributor Writer. Reviewed and edited by Toys N Bricks.
LEGO sets are fun to work with, from the building process to the final creation. However, they come predefined with building instructions. For something more challenging and exciting, LEGO MOCs are the way to go.
When dealing with MOCs, you’ll have to get ready to create your own design or model. Enthusiasts typically create MOCs that are highly personalized and unique, never seen before in the LEGO world. You don’t have to go that far if you are just starting. A simple replica MOC of an existing LEGO model is a perfect way to start building your own designs.
I will cover LEGO MOCs today because the process deviates from standard LEGO sets. It is an exciting opportunity for LEGO fans to bring their imaginations to life. Hence, in this guide, I will discuss everything about LEGO MOCs, including where to get the parts and ideas to make your first customized model.
Tip: Subscribe to the free Toysnbricks newsletter subscription. You’ll get LEGO news, new product updates, sales & deals updates, creations and reviews right in your inbox. Be sure to also join in for LEGO discussions at Toysnbricksforum.com. (:
Support Toys N Bricks
Before we continue further with the article, we like to mention that if you like the work that Toys N Bricks does, you can always support us by buying LEGO and other products from these merchant links: LEGO Shop at Home (USA | Canada | UK | Australia), Amazon.com USA, Amazon.ca Canada and Amazon.co.uk UK.
As a LEGO Affiliate, Toys N Bricks earns from qualifying purchases made at LEGO. Toys N Bricks is a participant of the Amazon.com, Amazon.ca and Amazon.co.uk Associates program which provides advertising fees for sites. As an Amazon Associate, Toys N Bricks earns from qualifying purchases.
Thank you for your support and for making your purchases through Toys N Bricks. Every little bit helps pay for our bills to run the site (including server infrastructure & software costs, license fees, contests, giveaways and more).
A Complete Guide on LEGO MOCs: All You Need to Know
An Overview of LEGO MOCs
MOC is a short form of “My Own Creation.” As the name implies, it refers to a customized or personalized set designed or built by you using original LEGO bricks.
LEGO MOCs are prominent among Adult Fans of LEGO (AFOLs). They are typically displayed during community events and conventions, from replicas of popular architecture or landscapes to palaces. Even better, you don’t typically need custom parts to bring these personalized models to life. You can use the bricks from a LEGO house set to create something different.
If you do want something more advanced, then you can get a custom kit with genuine LEGO bricks for your design. You can also create a building instruction just like what you’ll get with an original LEGO set. That way, someone else can pick up your custom kit, use your instructions, and build your LEGO MOC.
What makes LEGO MOCs even more exciting is that LEGO does encourage it among its fans. They provide the tools and platforms for people to share their imaginations. You’ll even find backstories like those in some of the popular LEGO sets, like the Titanic.
For a start, your MOC doesn’t have to win any awards among the biggest LEGO sets or any other standout category. You could start with small creations like a car, house, or boat. The whole idea is to be creative with the parts (bricks) to make something different from conventional LEGO designs.
You could come up with your ideas, drawing inspiration from objects around you. Alternatively, you could draw ideas from other MOCs at AFOL events and conventions. This approach is our top recommendation for beginners in LEGO creations.
Shown below is 18+ LEGO Art World Map 31203. This set is currently the biggest LEGO set with 11,695 LEGO pieces as featured in our resource article “What LEGO Set Has the Most Pieces? The 30 Biggest Sets of All Time“.

What Makes Up the LEGO MOC Set?
A typical LEGO MOC set is no different from a standard LEGO set besides the design. It is simply a custom-designed kit with bricks and instructions from someone other than LEGO officially. In other words, it is what another person dreamed up, designed, and put out for other creative enthusiasts.
LEGO MOCs can be sold online to others. That way, other AFOLs or even kids can use your blueprints to build your designs just as they would do a standard LEGO set.
Some MOC designers make a name for themselves on LEGO MOC platforms. They create stunning designs. One of the most notable creations is the Star Wars-inspired LEGO brick diorama. The set features more than 1 million LEGO bricks and covers a space of 45,746 square meters. Both horizontal and vertical spaces were uniquely utilized to add dynamics and depth to the design. 26 people helped build this Guinness World Record model in three years.
One million bricks is undoubtedly a herculean task for beginners. That shows you just how ambitious you can be when creating your custom designs.
Where to Get Ideas for LEGO MOCs
The LEGO Ideas platform is our top recommendation if you want to get ideas for your custom LEGO models. It is a hub for talented LEGO designers.
When starting, you can join a community of enthusiasts and practice with quick builds. There is always a new challenge every week. These challenges will help sharpen your creative skills. Even better, the activities section is organized in a way that builds you from being a beginner designer to a seasoned one.
You can come up with cool content and upload it to LEGO Ideas. Or review other creatives on the platform to get ideas for yours.
Challenges are a step up from beginner activities. It does take more time than the beginner level, and you still have to submit your creations. However, this time, judges will review your submissions alongside other creatives and give their verdict.
The last tier in LEGO Ideas is becoming a product fan designer. It takes considerable time and effort to get to this level or even to get your project out there. That is because you will not only conceptualize your LEGO MOC, you’ll also have to build it before submission.
Besides LEGO Ideas, you can also join AFOL platforms or communities on social media. Such communities regularly show off their designs, enough to inspire you to create something unique. You can consider picture-sharing websites as well, like Pinterest, to find the best and trending LEGO MOCs for your next idea.
Even original LEGO sets, like architecture sets or Technics, can inspire you. A little deviation here and there can end up creating something unique and different from the intended LEGO set.
Our recommendation is to start with standard sets. Make small deviations to them and see how that affects the overall design.
![]()
Types of LEGO MOCs
LEGO MOCs are categorized by the style, theme, and building technique used in creating them, just like actual LEGO sets. The most popular categories are shown in the table below:
| Category | Description |
| Technic MOCs | You can build these MOCs using LEGO Technic elements. The Technic line is designed to create more complex, yet functional structures. It is especially popular in engineering creations because you can use mechanical components like rods, gears, and axles to make functional designs. |
| Automation MOCs | For a more realistic scene, I recommend the automation MOCs. They combine regular elements with the Technic line for more intriguing designs. |
| Architecture MOCs | This theme features structures on a micro scale. MOCs in this category aim to get the same style or architectural piece as regular LEGO sets, but with different builds. |
| Star Wars MOCs | You can easily tell these MOCs by their distinct Star Wars theme. One of the largest MOC sets is Star Wars-themed. As of this writing, you’ll find most of the best MOC creations within this theme. The reason is that LEGO recently began reissuing discontinued Star Wars sets. To that end, many fans are choosing to design their own products instead of waiting for LEGO to release new sets. |
I can’t limit all the MOCs to these four categories. There are many others out there. As mentioned earlier, imagination is the limit when it comes to custom LEGO creations.
You can create LEGO MOCs with the Harry Potter theme. Or even create your own version of the Eiffel Tower, which is among the most iconic LEGO pieces ever made. Feel free to explore different themes and ideas.
Shown below is 18+ LEGO Icons 10307 Eiffel Tower Paris France. This set was featured in the resource article “The 14 Most Iconic LEGO Pieces in 2025“.
![]()
Getting Started with Your First LEGO MOC
There are two typical ways to make a LEGO MOC:
- Visit websites that sell custom LEGO MOC parts
- Create your parts
The first approach is easier, as you’ll most likely find building instructions as well. These instructions are handy, especially when dealing with unusual parts or bricks.
Making custom LEGO bricks for your MOCs requires advanced technical skills. You’ll also need to have computer expertise to design the bricks and get them produced.
The LEGO Digital Designer was the front-line software for designing LEGO models for years. It is no longer actively supported. Nonetheless, it remains a valuable resource for learning modeling.
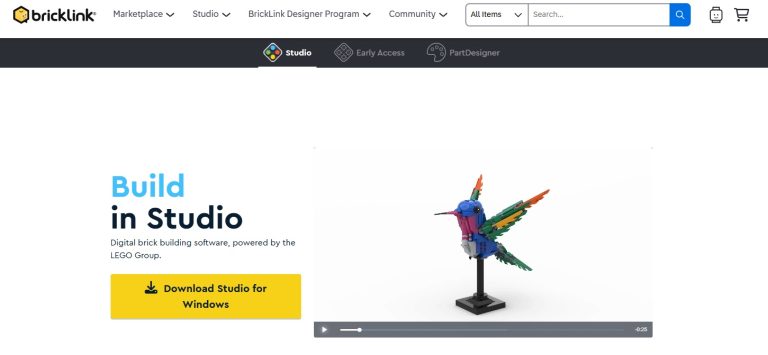
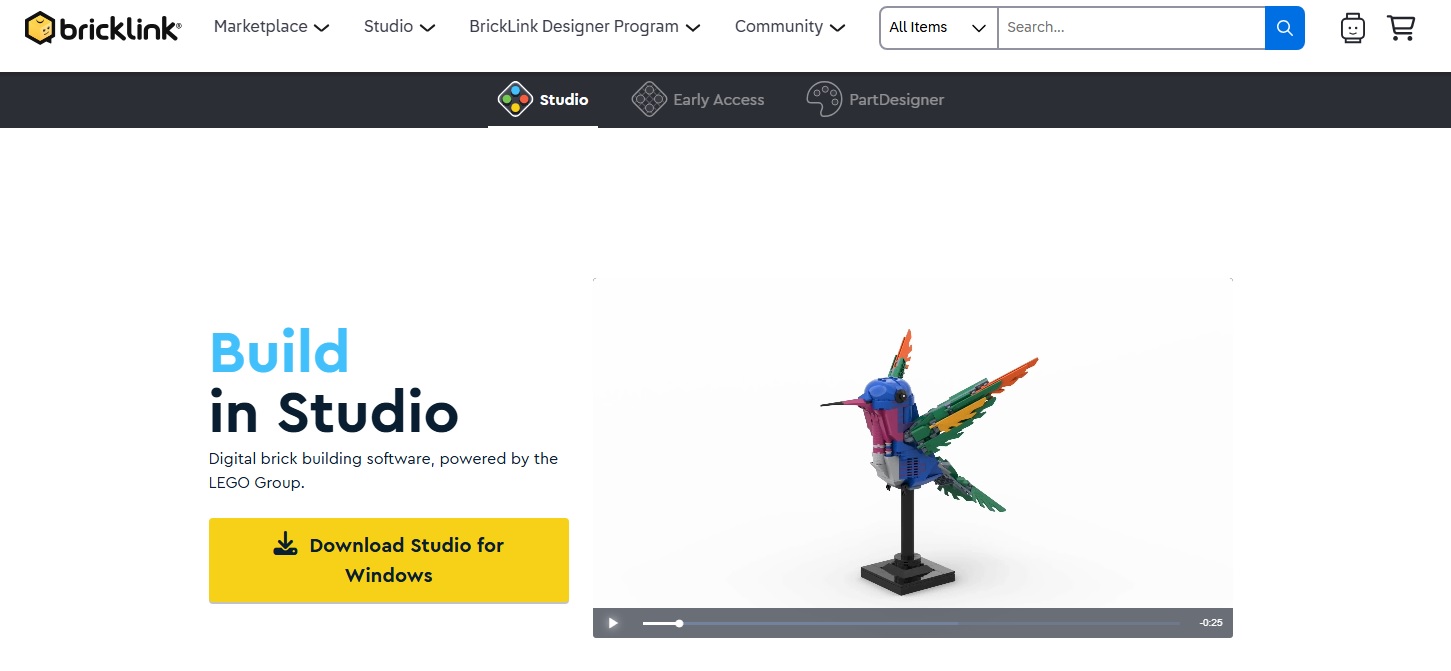
You can go with the BrickLink Studio, which is equally robust for designing and building. It features model export, part lists, and public gallery uploads. You can also create building instructions for your creations. Most importantly, it is free to download for Windows and macOS.
There are other free-to-download software programs you can use for designing and building your LEGO MOCs. However, before you begin using these programs, I have a few suggestions for you as a beginner. The most important thing is learning as much as possible about LEGO bricks and how they work.
Shown below is the landing page for LEGO Bricklink Studio.
Learning About LEGO MOCs
You’ll have to catch up on different construction techniques when it comes to MOCs. That is because creators typically add unique approaches compared to what you’d get with regular LEGO bricks.
If there’s a video guide on how to build a LEGO MOC, I recommend you go for it over the written guide. The visualization will help you understand the process much faster, especially if you are new to building with the bricks.
For those with time on their hands, I recommend visiting exhibitions. This approach will not only expose you to real-time building techniques, but you can also share ideas with other creators and builders.
Understand How the Bricks Work
LEGO bricks have studs and tubes. To create a model, you simply place the appropriate tubes of one brick on top of the studs of another brick. The process continues until you’ve assembled all the bricks for the required shape.
Besides size variations, LEGO bricks also come in different shapes. You have the regular bricks, the wedges, plates, modified plates, curved slopes, rods, modified bricks, round bricks, slopes, and Technic beams/lift arms.
When it comes to naming the bricks, the typical convention is A x Y, where A is the number of studs for the width and Y is the number of studs for the length. For example, you can have 2×4 bricks or 4×6 bricks.
You may not have to use all the brick types in one LEGO MOC. How many brick types you use in your MOC depends on the overall shape. For example, if your model has no curves, there might be no need for round bricks or curved slopes. You have to understand what you want to construct and what kind of bricks fit ideally into the structure.
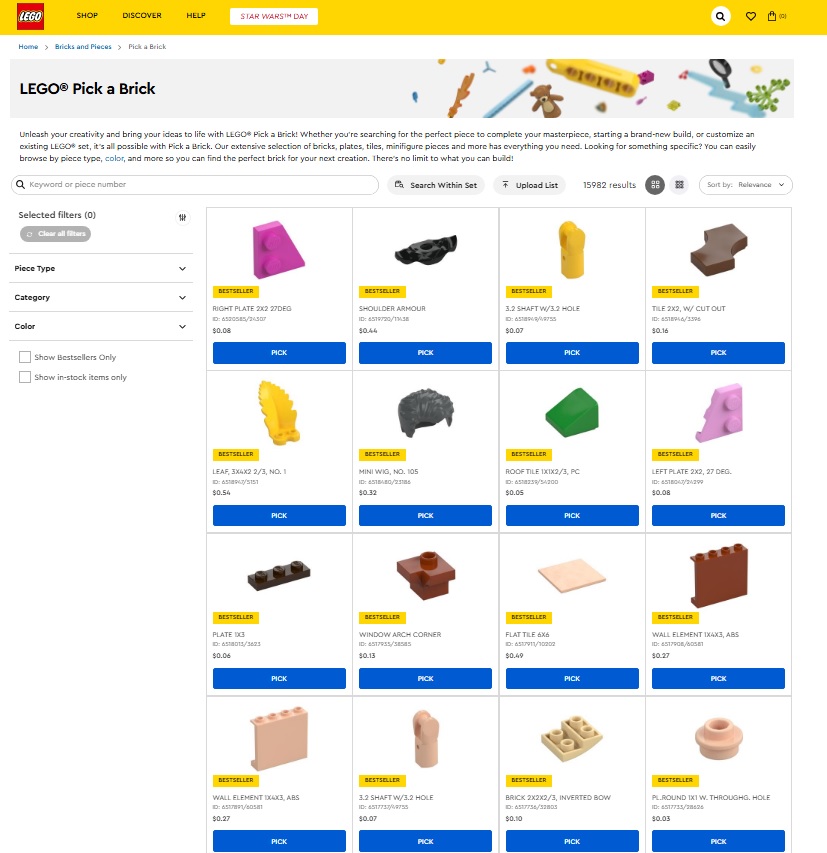
Bricks and other parts may be available in the secondary market. For designs that originate from actual LEGO pieces, you can order the sets from the official LEGO Shop at Home (USA | Canada | UK | Australia). Then, use the parts to your specifications when constructing.
Shown below is the landing page for LEGO Pick a Brick. You can choose and purchase individual LEGO pieces at the Pick a Brick section through the official LEGO Store (USA | Canada | UK | Australia).
Building Your First MOC
At this stage, I recommend you start with a regular LEGO set. You can use a set you already have. If not, you’ll have to purchase a new LEGO set for this stage.
Now, assemble the pieces based on the standard building instructions. Ensure you do your best to replicate what the finished product should look like. You can start with the smallest and cheapest LEGO sets, but with enough bricks to experiment with the design.
Once you’re done with the first assembly, it’s time to experiment. Enhance the product in front of you. Make it larger, add decorations, and even add minifigures to the structure. This process is called alternate building.
Alternate Builds are the simplest LEGO MOCs because you can make them using one single LEGO set. You don’t need multiple sets or extra custom pieces. The whole process is as simple as rearranging the pieces or adding pieces to a specific section to make it bigger than the original.

LEGO Creator 3-in-1 sets are ideal for this trial phase. Build the three models and try simple modifications. As you gain experience with the bricks, you can try more complex modifications to the original set.
Alternate builds will help familiarize you with LEGO sets and the pieces. That’s why I recommend them for beginners before moving to more complex and unique sets.
Continue practicing with alternate builds until you are confident enough to experiment with the LEGO pieces. Practice progressively. In other words, move on to large pieces or sets as you become more confident.
Step-by-Step Guide
Follow the steps below to build your first LEGO MOC from scratch:
- Step 1: Visualize your model
Create a simple sketch on paper or in your sketchbook. If you have a tablet or iPad, you can use that as well. The key is to make a pictorial representation of how your model will look. It doesn’t have to be perfect or true to dimensions just yet. This initial representation will be what you’ll use for the more technical sketch.
- Step 2: Sketch it
Now, use the pictorial representation to produce a more technical sketch of the model. You’ll have to consider the dimensions and other crucial factors at this stage. Whether it is a microscale of a larger architectural piece or a random design, ensure you have your dimensions right. Subsequent steps will depend on how accurate your sketch is.
- Step 3: Create a part list
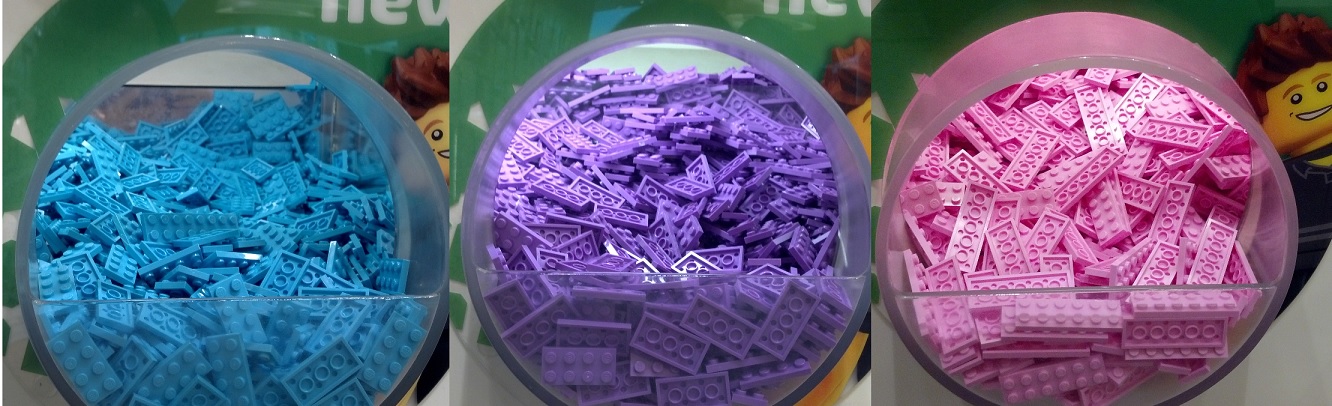
Here’s where much of the work is. You’ll have to identify all the parts in your sketch and break them down into bricks by type and size. You might not necessarily get the number of parts right at this point, but focus more on identifying all the brick types and sizes you’ll need for the model. Identify the colors as well for all the parts in your model.
Ensure you identify what makes your model unique and different from other LEGO MOCs or sets. Focus on getting this section right, as it’ll demonstrate your creativity and skill when presenting to the public or friends. Remember, LEGO MOCs are all about creativity among the fans and enthusiasts.
Shown below are different colors of LEGO pieces.
Adding Characters
Characters can elevate basic models into stunning pieces as they add emotions to the visual appeal. That is why you mustn’t rush this process. Think thoroughly about what sort of characters will elevate your model or add your intended emotion to the structure.
You can create scenes with characters. For example, a minifigure hanging out of a window shows that the minifigure is running or escaping from something inside the house. That alone creates a backstory to your model, arousing curiosity in anyone who views your model.
Visual expressions are also crucial when using characters in your models. Frowning eyebrows can depict disappointment or anger at another subject. Conversely, a smiling face can depict satisfaction in the scene.
Another aspect to consider when adding characters is their scale. The characters in your model do not necessarily have to be of the same size. However, for a scene, you’ll need their size to be proportional.
Again, experiment with different minifigures until you hit the right scene. With LEGO MOCs, there isn’t a fixed way to arrange your minifigures in or around your model. You can also move pieces or bricks as you place the characters to see what scene they depict.
The colors of the characters should also match the scenery. This approach will create a better visual appeal than using random colors for your characters. Experiment with dull and bright colors, depending on the scene.
Shown below is LEGO Series 27 Collectable Minifigures 71048. This minifigure series was released in January 2025 and is available for purchase at LEGO Shop at Home (USA | Canada | UK | Australia). You can also customize and build your own minifigure through the LEGO Pick a Brick section at the LEGO store.

Lighting Up Your MOCs
Lights will add more energy and definition to your MOCs, especially at night or in low light. You can get specially designed LED light sets or use those from other regular LEGO sets.
Unless you have the means to design and manufacture your custom light, the most probable course of action is to use LED lights from other models. Simply get creative, arranging them around your model to achieve the intended effect.
Consider the light placement and the colors as well. MOCs that light up are typically mind-blowing.
Building Techniques for LEGO MOCs
Once you have your parts (bricks) ready, it’s time to get down to building. There are several techniques when it comes to assembling LEGO bricks. You might not have to use all during your custom LEGO MOC building process. Nevertheless, we’ll cover as much as possible to give you flexibility in your next project.
The prominent building techniques for LEGO MOCs are as follows:
Stacking
This process simply involves placing one brick over the other such that all the studs on the lower brick go into the tubes on the upper brick. It is one of the simplest and is common for posts and legs.
You can use stacking for the foundation of your model. However, it is not strong for walls, whether thin or thick. Stacked bricks for walls are easy to take down. For walls, you’ll need a different method: overlapping.
Stacking is good for simple and compound columns. Simply stack the bricks on top of each other until you get the desired height. If there’s a straight brick for the entire column, you can use that as well and save your bricks for other areas.
Overlapping
Instead of connecting all the studs and tubes, you make a half connection. In other words, half of the tubes on the upper brick take half of the studs, leaving the upper brick hanging on one end. To create the overlap, simply attach another brick below the upper brick to take the remaining tubes.
The overlapping approach allows for vertical and horizontal connection, making it sturdier than average stacking. You can also use the overlap technique to build roofs and hills more seamlessly than stacking.
For round walls, simply connect the ends of blocks that are one stud wide. This approach creates a joint you can move and adjust into a circle.
The overlapping technique can also be used to build walls that go in opposite directions. Build the walls and place a LEGO brick over the joint where the two walls meet. With that configuration, you can alternate the direction of the brick over the joint as your wall grows.

Staggering
This approach is similar to overlapping. However, you’ll have to offset the brick rows for a non-aligned pattern.
The staggering technique enhances stability and increases the visual appeal of LEGO walls. I recommend it if you have large models that’ll carry more weight on top.
Use the staggering technique if you want to replicate a real brick structure. It is our recommended approach for architectural LEGO MOCs. You can also alternate the colors to create even better appeal or to align with your scenes.
SNOT (Studs Not on Top)
The LEGO bricks aren’t always meant to be vertically stacked or connected vertically. There is no rule on that. Hence, you can stack the bricks sideways (horizontally).
With the SNOT technique, you stack the bricks vertically and horizontally. This technique brings flexibility when building angled surfaces, like staircases. You can also use it for angled roofs and more intricate designs where average stacking won’t suffice.
SNOT requires more careful and thorough planning than the first three building techniques we’ve mentioned. However, master it, and you can use it to create ship hulls, angled walls for castles, and more detailed models.
LEGO provides SNOT bricks. You’ll identify them based on their stud and tube placements. These will be placed such that you can effortlessly stack the bricks vertically and horizontally simultaneously.
SNOT is rock solid for most applications. However, it has a few pitfalls you should look out for when building your LEGO MOCs.
One of the pitfalls is LEGO tolerances, as they only work sideways and not vertically. Hence, you might run into trouble when you stack the bricks upwards. The fit at the bottom might be tighter than the one above, creating a disproportion in the structure.
Technic SNOT is another pitfall to look out for.
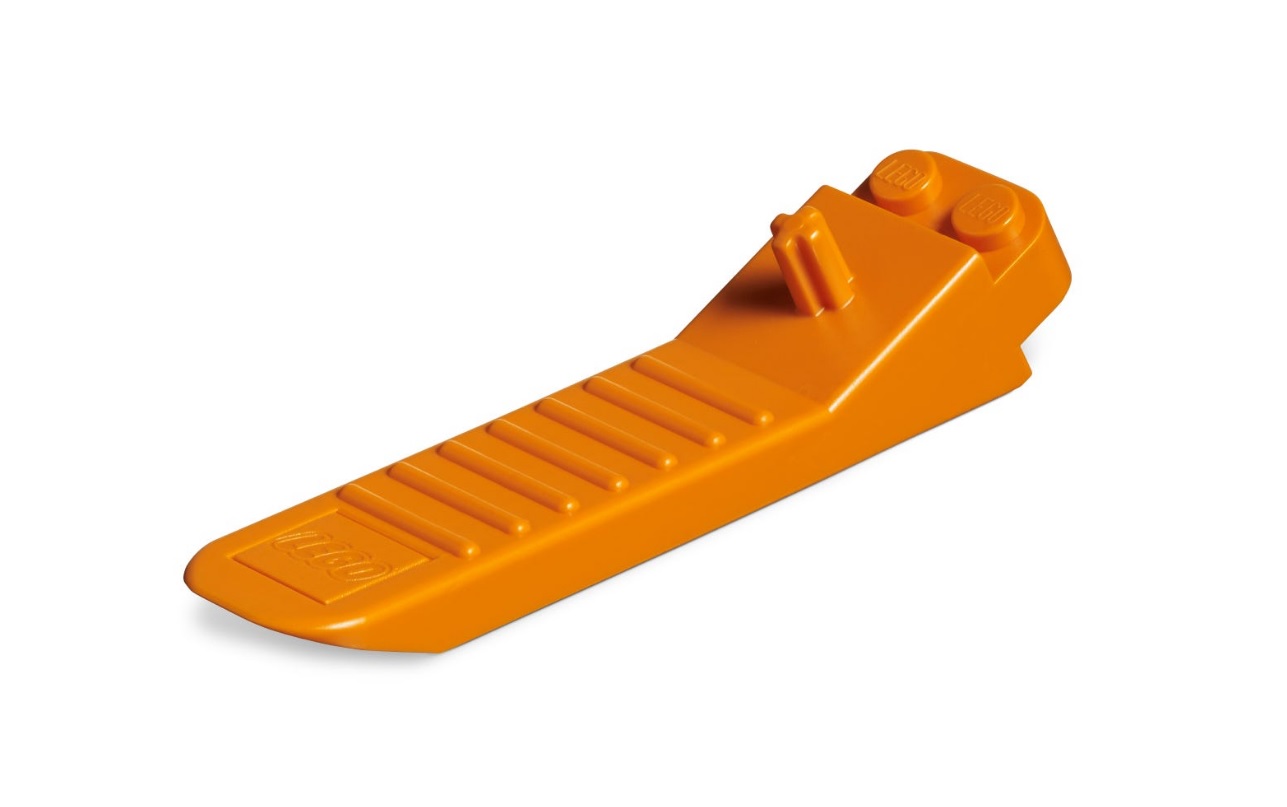
Shown below is the LEGO Classic 630 Orange Brick Separator. This goes handy when needed to remove certain LEGO pieces.
Technic Integration
With Technic sets, you can go beyond traditional and average LEGO building into intricate mechanical designs. Technic parts differ from average LEGO bricks. While typical LEGO bricks will work with stacking, overlapping, and staggering, Technic sets require pins, beams, and gears. These come together to create functional mechanical structures.
Before making any connections with Technic sets, you must understand the beams, liftarms, pins, and axles. The beams do not have studs on top, regardless of their length. Instead, they have evenly spaced holes where you can connect axles or pins.
The pins and axles are core connectors when using Technic sets. You can use the pins to connect the beams. As for axles, those come in handy when you want gear rotation in your model. You can have pins with or without friction, the same as the axles.
Friction pins are useful when you want a non-movable and stable connection. The friction prevents any movement, especially rotation, in the connection. Hence, they are helpful for beam connections in LEGO MOCs.
Wheels and gears require rotation. As such, you are better off with frictionless pins for their connections.
Axles allow rotation, but you must be careful when using them. The reason is to ensure you get the appropriate orientation for the rotation.
The different types of axles in Technic building include:
- Axle and pin connector
- 3L axle and pin connector with two holes
- 3L axle and pin connector with one hole
- 3L axle and pin connector triple
- Axle and pin connector double
- Axle and pin connector double split
Ensure you test your connections and their rotation after assembly. Do that before adding more pieces to the model.
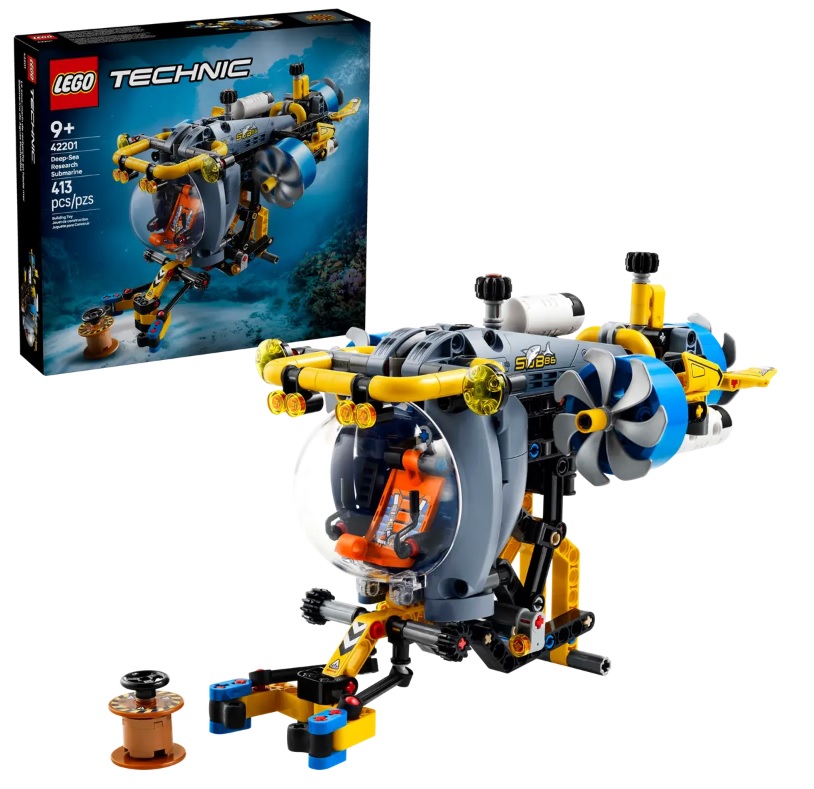
Shown below is LEGO Technic 42201 Deep-Sea Research Submarine.
Mastering Gear Movements
When it comes to gears, you must consider your gear ratios and meshes. Technic models allow you to alter gear speeds using the ratios. You can also alter the torque.
As a rule of thumb, note that the speed increases when a larger gear drives a smaller gear. Conversely, the speed reduces when a smaller gear drives a larger gear.
Align your gears and meshes perfectly to avoid slippage during operation. You can use beams to lock them in place.
For complex builds, I recommend worm gears. These gears are perfect for increasing torque while reducing speed and preventing backward movement.
Top LEGO MOC Building Tips and Tricks
Building LEGO MOCs can become complex quickly, especially when you advance to Technic models where physical movement is needed. Here are a few tips and tricks that have worked for me and will work for you as well when building MOCs:
- Use triangulation to increase frame stability. This technique involves placing your beams and lift arms in a triangular shape. It is especially helpful in larger models.
- Add pins at key joints to keep everything firmly in place.
- Reinforce areas that flex with more beams and lift arms. This approach is vital when dealing with larger models.
- You can use the SNOT technique to attach regular bricks to Technic sets. This approach can be helpful in increasing the aesthetics of your models.
- Use Technic-to-system adapters when connecting regular bricks to Technic sets.
- For larger models, start with subassemblies and test them as you proceed.
- Again, use axles and pins to secure different modules together when using a modular approach for your model.
Where to Show Off Your LEGO MOCs
For LEGO MOCs, it’s all about the show-off. AFOLs and other enthusiasts who build them typically do so to show off their creativity and also add to the extensive LEGO design library. Some MOCs become so mainstream that you can buy and assemble them yourself. Others, like the Star Wars-themed MOC, might be too large to replicate or even purchase the pieces.
Once you’re done with your MOCs, place them in a well-lit environment and take appealing snaps of them. Take different angles to cover as much detail as possible. You can also get 3D pictures or renderings of the models to create virtual tours when uploading them to the internet.
As for sharing your LEGO MOCs, you can do so on social media, at AFOL events, at conventions, at exhibitions, etc. You can also share your MOCs on LEGO Ideas if you are convinced they are creative enough to be future sets. However, you’ll have to add explanations and building instructions for others to follow.

Conclusion
I recommend you begin by altering regular LEGO sets to see what designs you can come up with. This approach is the easiest. It will build your design and construction skills as you progress.
Join LEGO MOC communities to see other ideas and get inspiration. These communities will also be vital when sourcing custom parts for your LEGO MOCs.
Making LEGO MOCs is demanding. However, they are even more satisfying than regular LEGO sets, as you get to create your custom models and designs.
This article was written by Jeremiah A. – Guest Contributor Writer. Reviewed and edited by Toys N Bricks.
—
Toys N Bricks has lots of other LEGO Resource Articles available at our LEGO Resources Guide Center.
Support the work of Toys N Bricks by buying LEGO from LEGO Shop at Home (USA | Canada | UK | Australia), Amazon.com USA, Amazon.ca Canada and Amazon.co.uk UK.